Security on your WordPress site is important. One of the easiest ways that people can get access to your site is by simply logging in. If someone knows or can guess a password then it means that someone with bad intent could get in also.
There are a number of ways that you can make it more difficult for people to log in and two factor authentication is a useful tool that many people are familiar with.
As with many things with WordPress, there are many plugins that you can use to implement this on your site. We will look at Google Authenticator – WordPress Two Factor Authentication (2FA, MFA).
What is two factor authentication?
At its very simplest, two factor authentication for WordPress means that you’ll be presented with a second authentication code box during login. The authentication code is a six digit code which is regenerated every 30 seconds or so.
Users will need an app such as Authy or Google Authenticator to generate codes which are then entered and checked by the site. Users can also have a set of backup codes which can be used as one-time codes in the event that they can’t use the app, for example due to lack of phone signal.
Installing the plugin
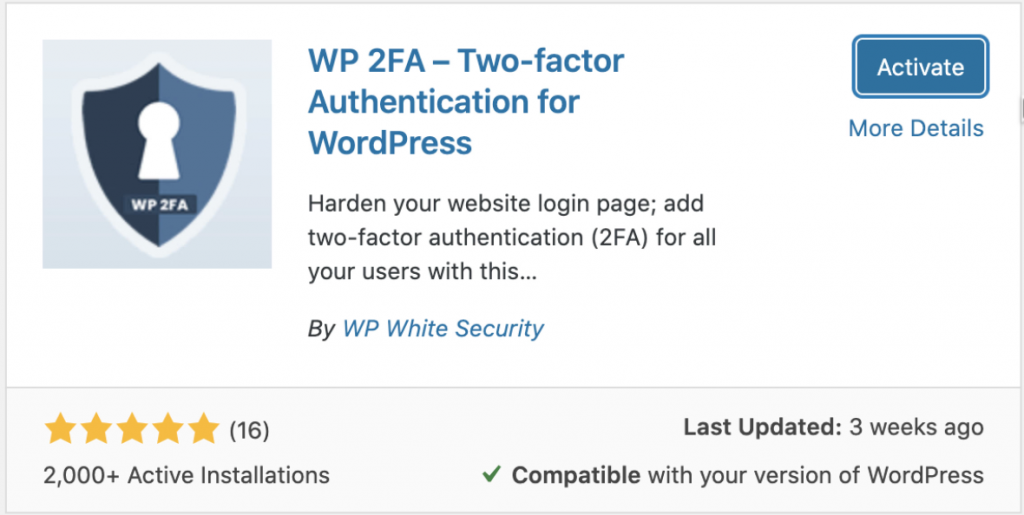
The plugin can be found in the WordPress plugin directory, so click on Add New and search for two factor authentication. You’ll find the plugin listed near the top.
Configuring the plugin
Once you’ve activated the plugin it will then take you through a setup wizard.
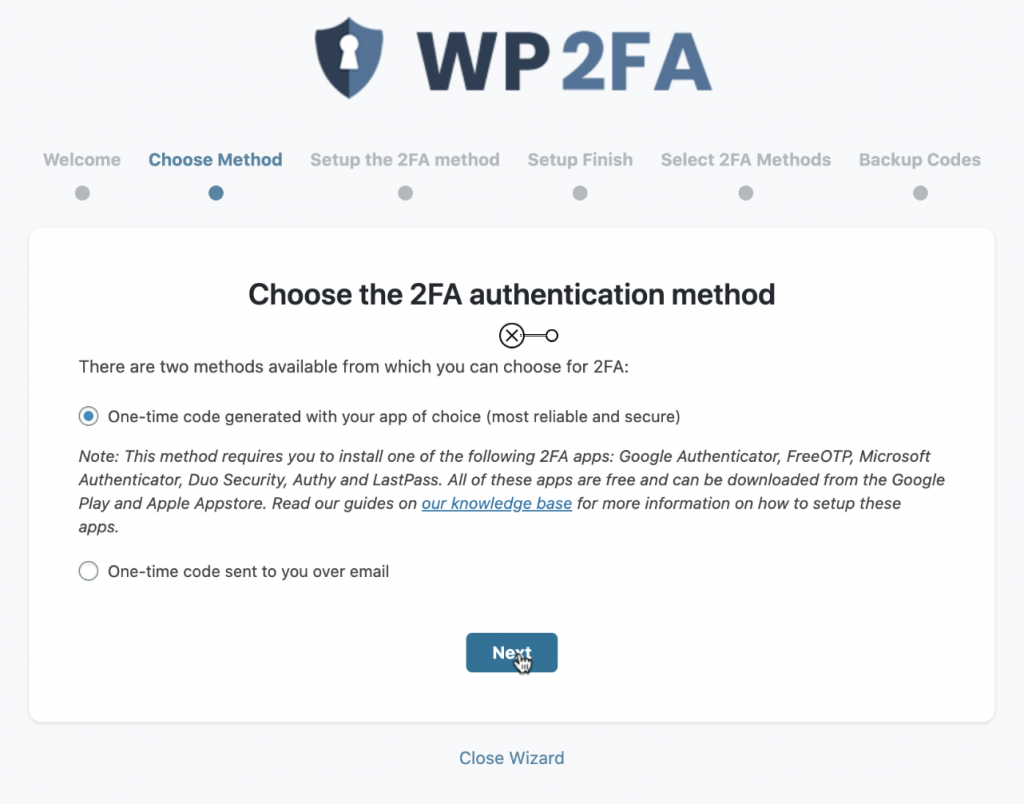
It will first ask you to choose your method of two factor authentication, either with an app or by email.
Unless there is a good reason, you should stick to the authentication using a mobile app rather than by email, although that might be determined by your users. There are many good 2FA apps for mobile phones now – the most popular are Google Authenticator and Authly – so it’s likely that your users will be able to install one.
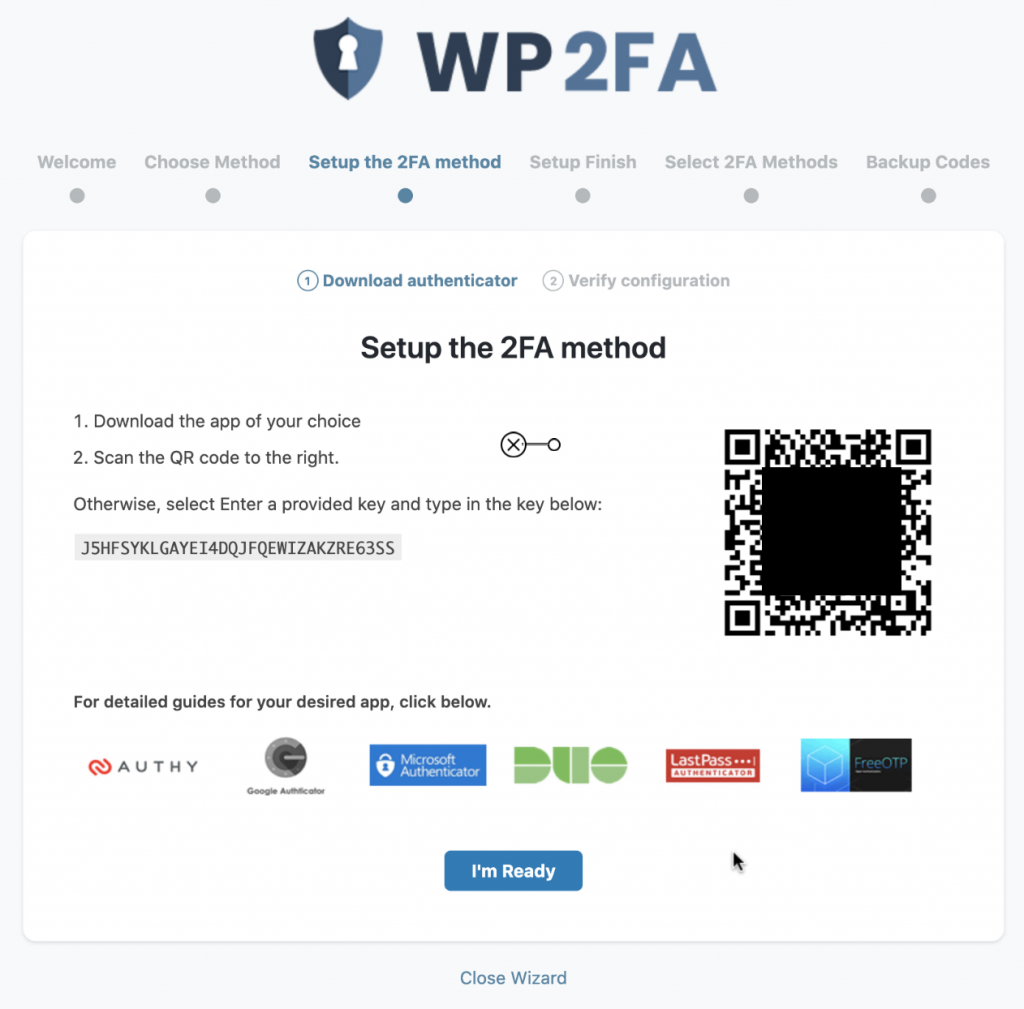
Let’s assume that you choose to use an app for the authentication. The plugin will show a QR code which you can scan with your phone. This QR code contains details of the website, the account name and a shared secret that your app will use to generate codes and WordPress will use to validate.
The next step is to then enter the number shown on your mobile device back into the site, to confirm that everything works.
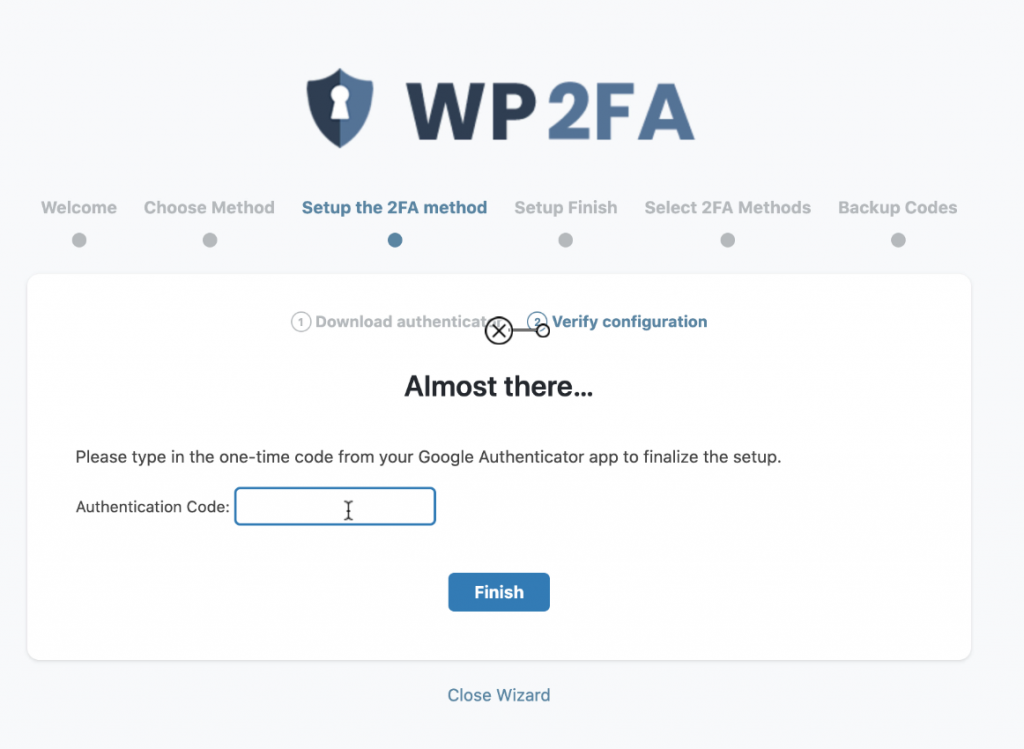
Once that is done the two factor authentication is configured for you, and you can now configure how 2FA works for different types of users.
Advanced configuration – setting up for different users
You can configure 2FA for different users or roles. You can also exclude some users from 2FA, which might be needed as a temporary fix if they lose their device and backup codes.
You might also have a site where some users won’t be expected to use 2FA. For example, if you have a WooCommerce site or some other service that requires people to log in, you may not want them to have to use 2FA every time they log in, but you might want to protect the admin interface and require 2FA on that.
The wizard will take you through the settings so once you’ve configured the 2FA for yourself, you run through similar steps for other users.
First set how the users will get their codes – again we would recommend that you use a device to get the codes rather than by email.
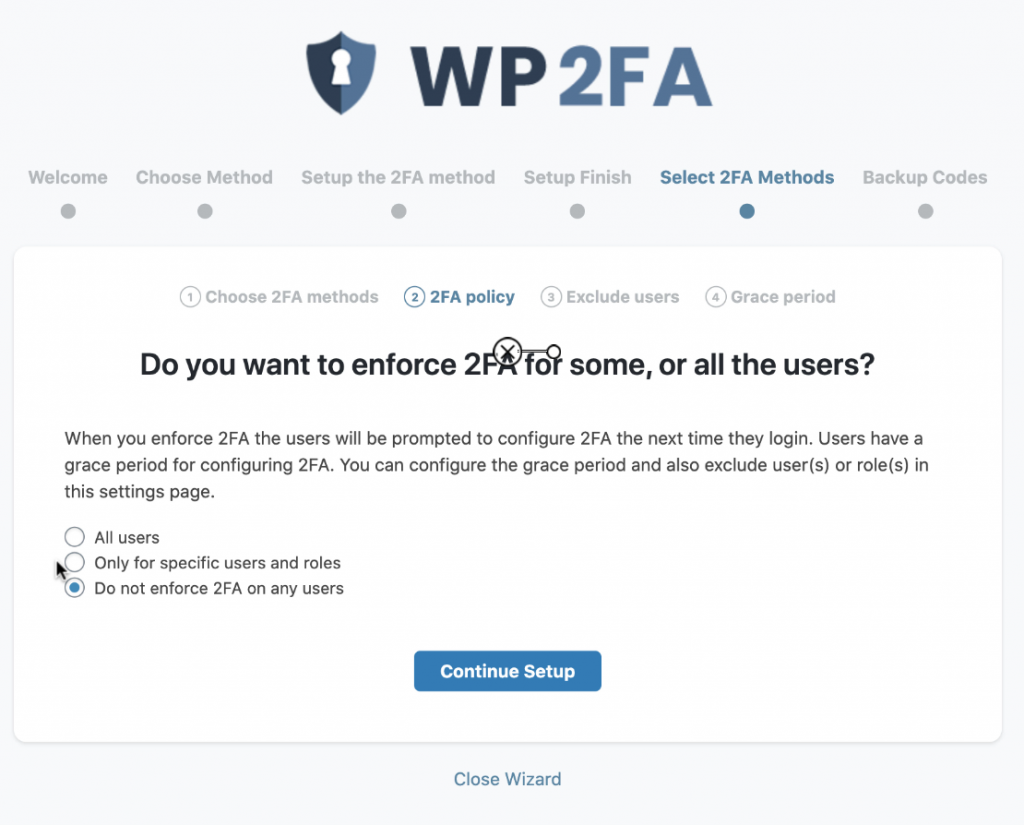
Then choose the users to be enabled. For example, below we set 2FA to be used for just Administrators
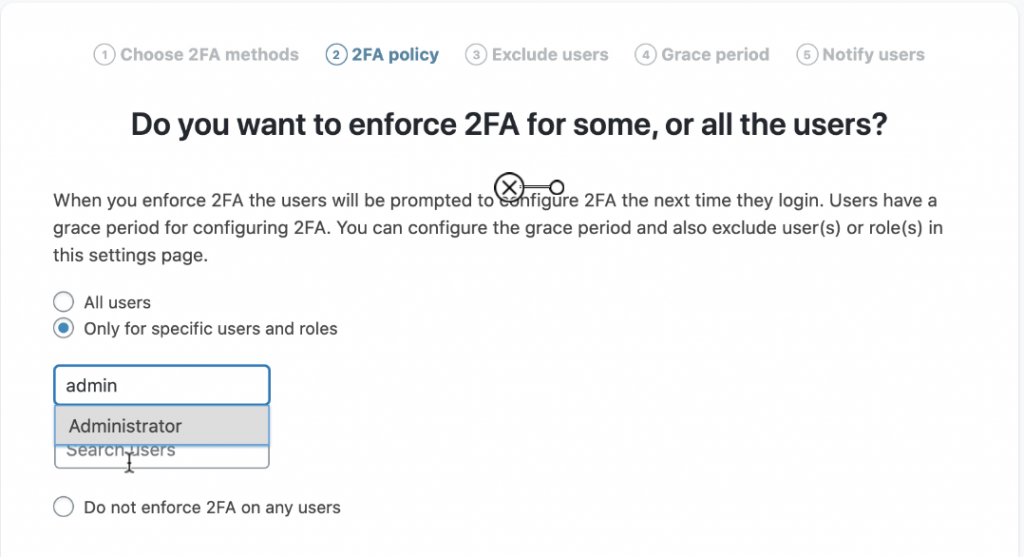
You can then set it for all users or define which groups or users will have 2FA and define which groups should be excluded.
So for example, if you have WooCommerce, you might say that all users need to use 2FA except those with the “customer” role.
Setting the ‘grace period’
Your users might have got used to just using their password to log into the site. So you can set up a grace period where their passwords will continue to work without 2FA. This can be defined in terms of days or hours.
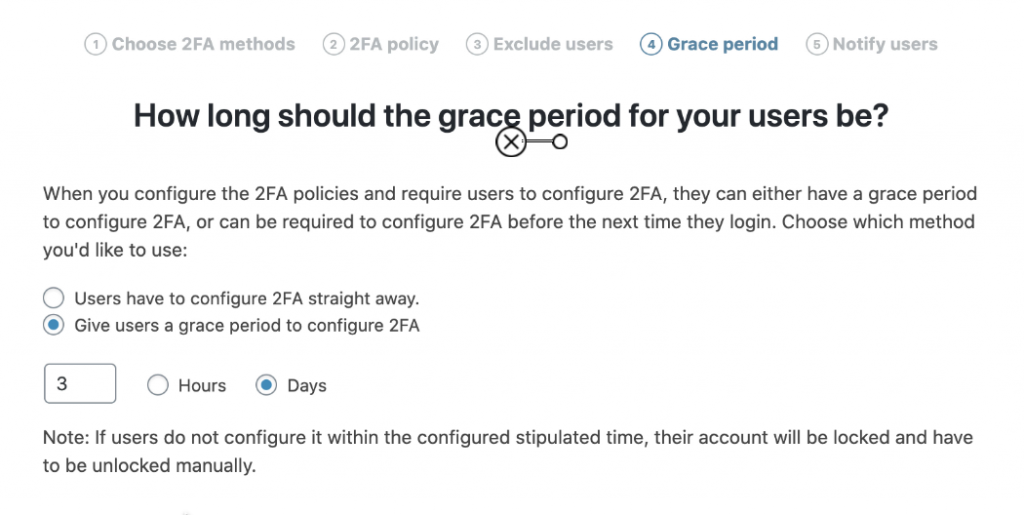
The number that you use here will depend on the number and type of users that you have. For example, if you’re running a one-person site and you’re locking it down, then you could set this to 0 hours since you know what you’re doing.
Similarly, if you’re all sat in the same office, then you might be able to just tell everyone what is happening and again, only need a small number here.
However, if you’re having to email a large group of users who might not see the email immediately, then you might want to give it a couple of days so that they get some notice before the change.
Notify users
Your last step is to let users know that the settings have changed. The plugin will take care of that for you. You’ll be asked if you want to notify users and the plugin will send them an email if you choose to do so.
And that’s it!
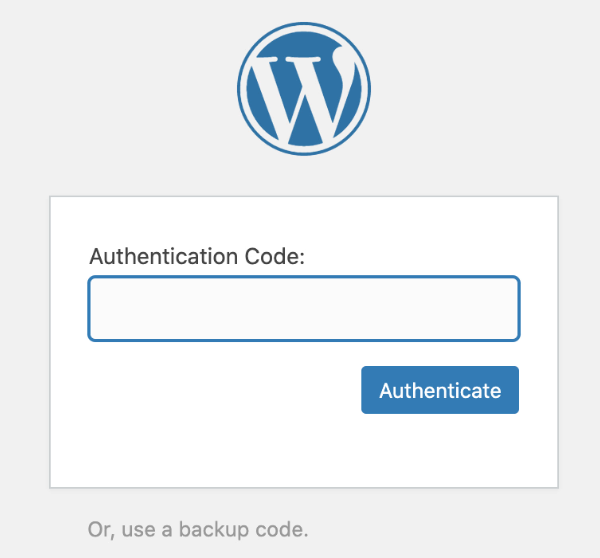
When you next try to log in, you’ll be asked to give an authentication code as part of the logging in process.
The login screen will look the same as usual:
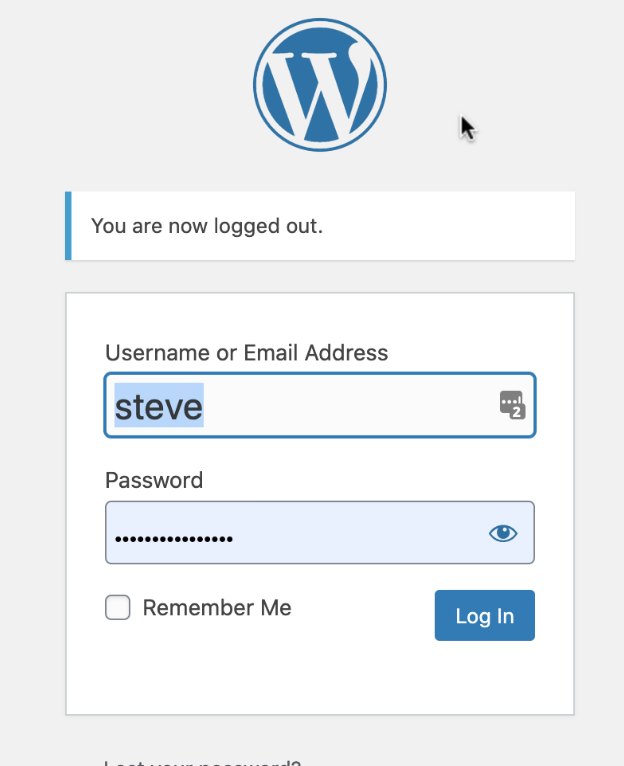
But you will be asked to enter an authentication code after you have clicked on “Log In”:
New and existing users will be prompted to configure their 2FA after logging in. They’ll need to have installed their mobile app and be ready to configure depending on the grace period that you set.


